

DIY Romper
- Jul 15, 2016
- 4 min read
I think it is so rewarding knowing that you've taken something old and given it new life. The other day my mom and I were browsing value village when she picked out this pretty blouse for me.
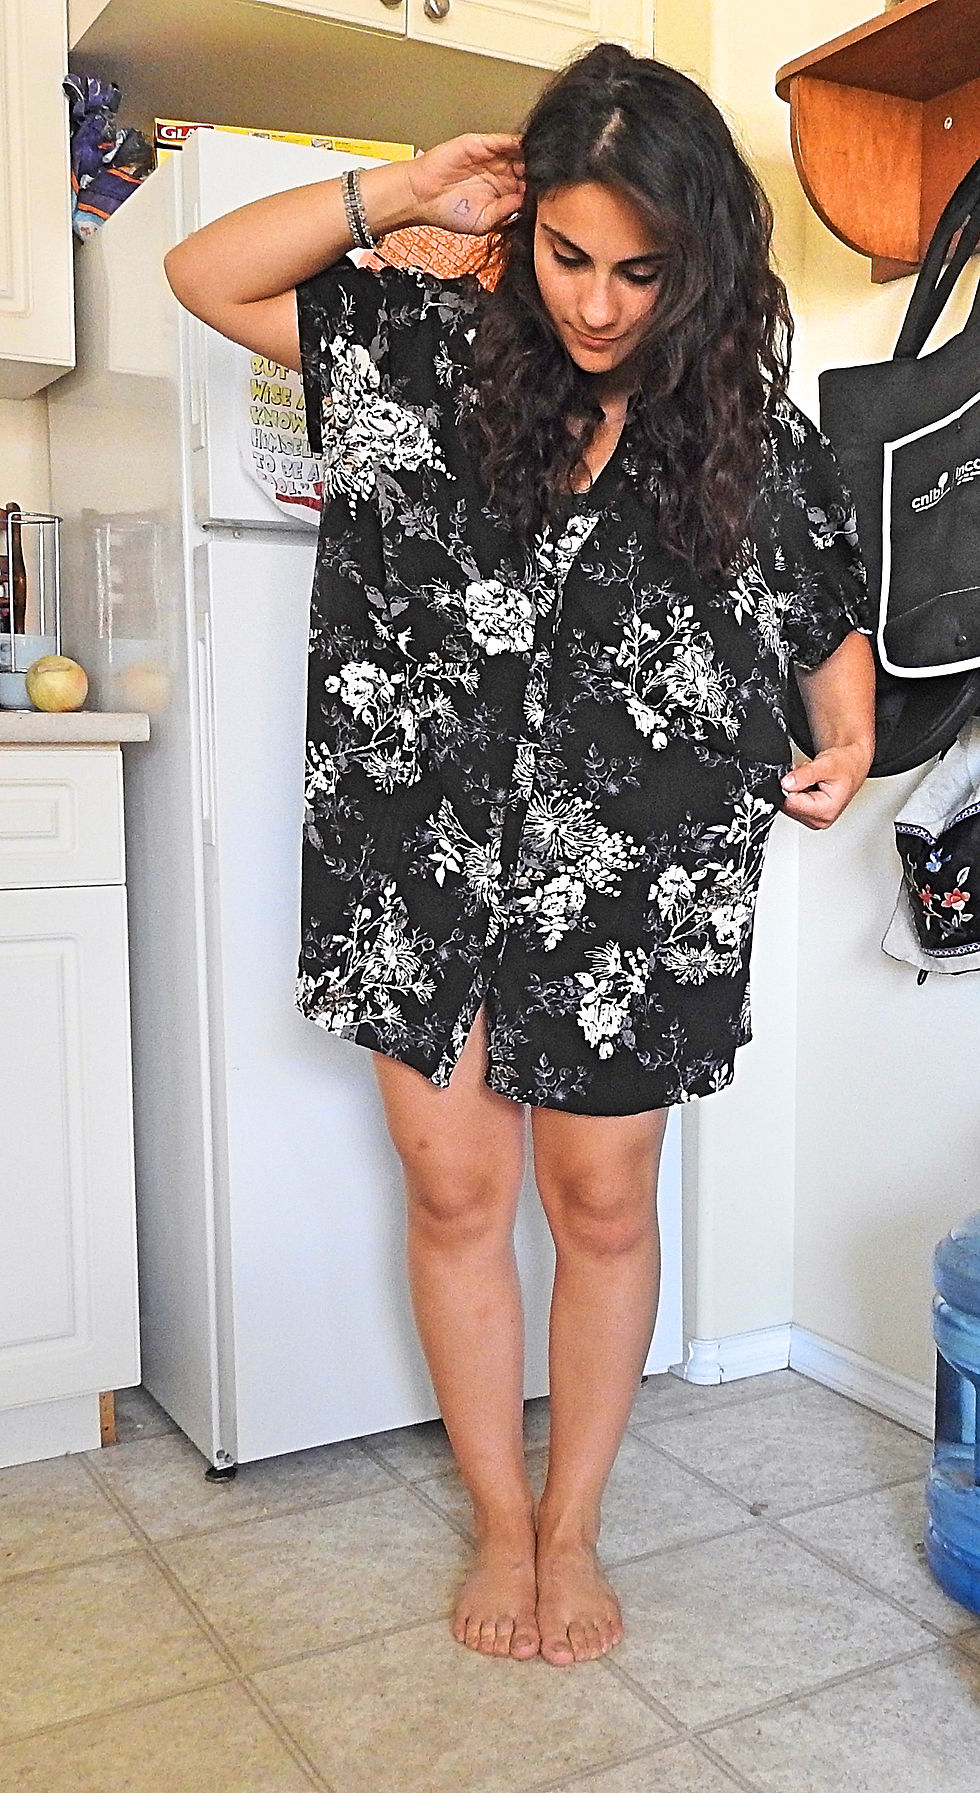
As you can tell it is way to big for me! So the wheels in my brain started going and I was able to turn this oversized blouse into something I'll wear all the time.
Rompers have been an obsession of mine for a really long time. I used to buy them all the time and then one day I made one all by myself and since then it's all I want to make. I've made two already and this is my third attempt.
By the third go at making anything I start feeling like I have it down (more or less). The twist with this DIY is that I had a limited budget of fabric available to me because I made it entirely out of this XXXL Blouse, with not a scrap to spare. The real challenge was the planning that went into it to make sure no fabric would go to waste.
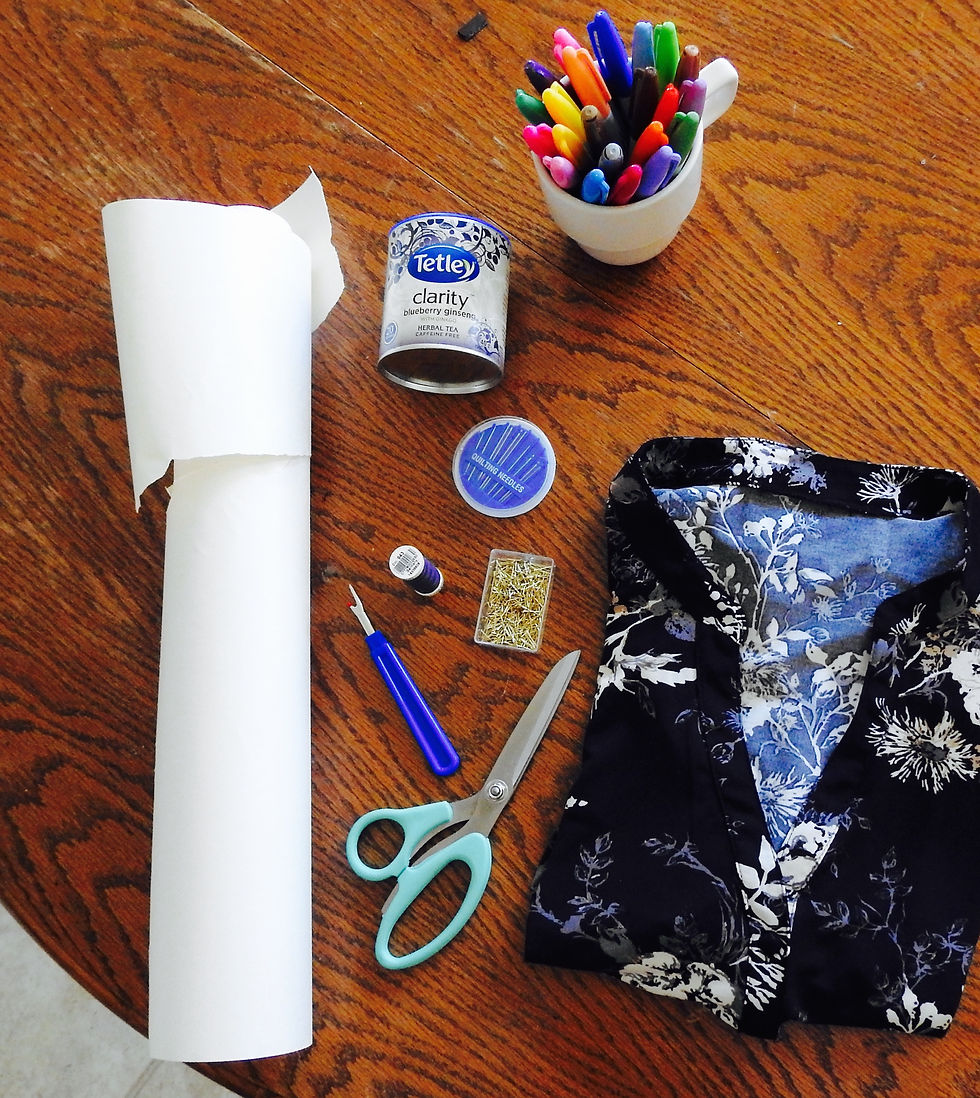
Materials used: - XXXL Blouse, dress shirt, men's shirt, ect.
- Fabric scissors
- Seam ripper (you can find these at any fabric store for cheap)
- Pins
- Thread and needle
-Roll of paper and permanent marker
- Tea (I needed it but it's optional ;) Blueberry tea from tetley is my current obsession)
First things first take the Seam Ripper to cut out the seams of your shirt so you can see how much fabric you have to play with. As you can see with my shirt, there was some stitching between the top portion (boob portion) of the shirt, and the bottom portion.
I cut along the seams of the fabric that had the buttons and button holes because I had a feeling I would want to use that as part of my romper.
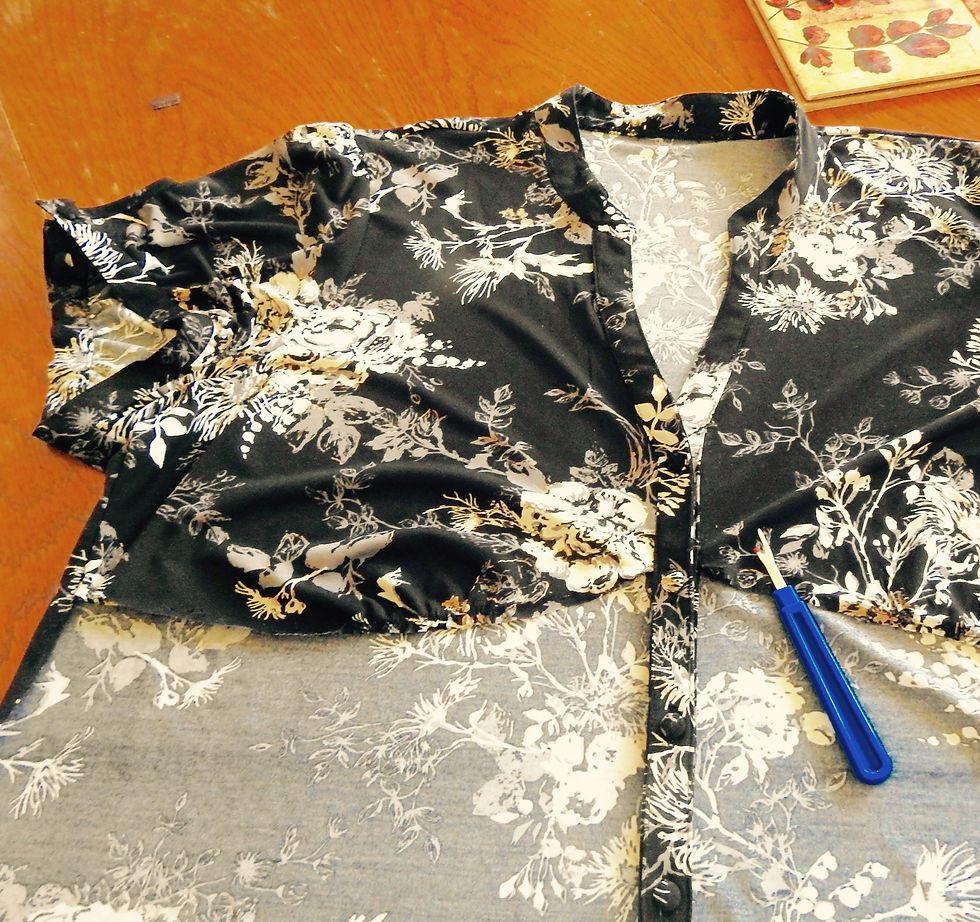
That left me with two squares from which I cut out both my front and back sections for the shorts.
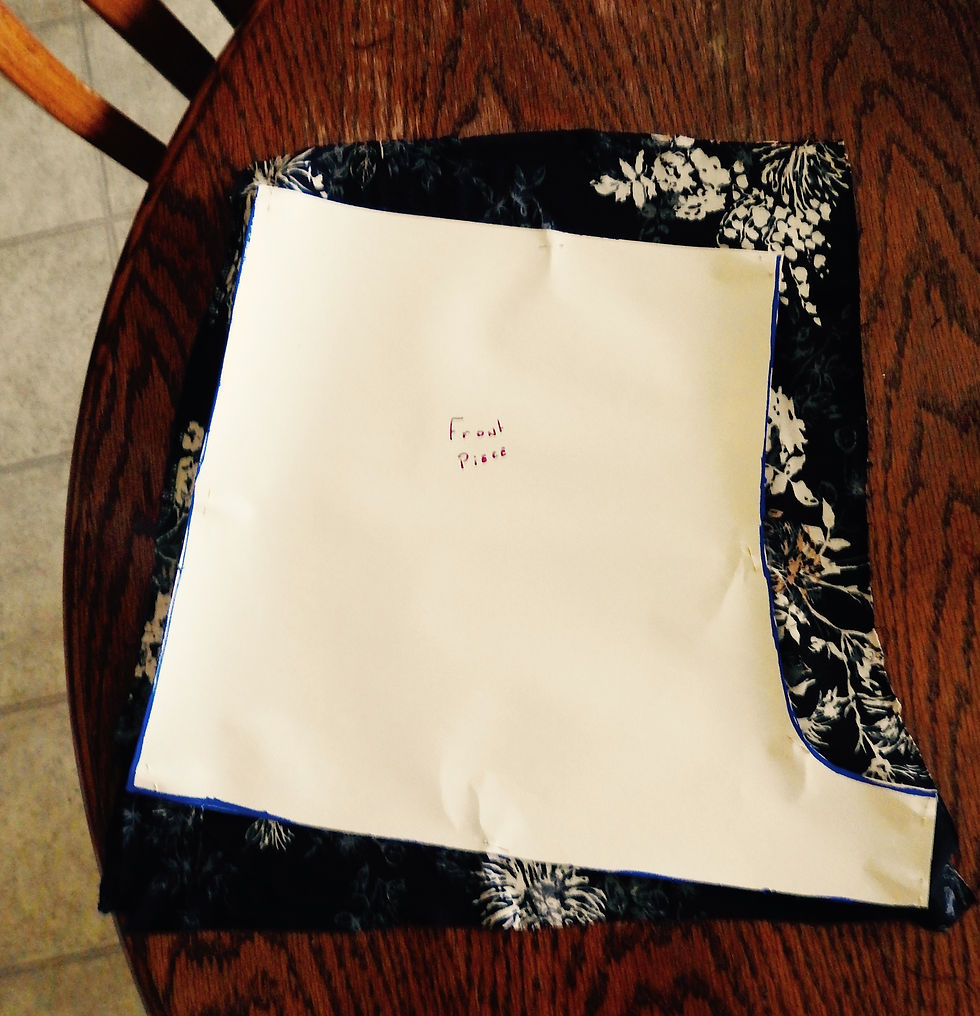
I already had a pattern for shorts that I had drafted onto large crafting paper. I secured the paper onto my fabric with pins and cut out my pieces. (top)
I did the same with my back piece, the only difference between the two is that the separation of the shorts goes out further than for the front piece. (bottom)

I recommend that you take an old pair of shorts to take apart in order to create your own pattern you can use again and again and again.
Next we sew our pieces together like so:

With the fabric facing inside, we sew up the right all the way to the top, and also that little bit of fabric that stick out on the left...those get sewn together too.
to get the other half of the shorts flip the pattern and cut out mirroring pieces of those you've already sewn together. I got that fabric from the bottom half of the back of the shirt. Remember that before we used the front, now we use the back. Repeat the steps from before and now you have both halves of the shorts.
Next I took both pieces and aligned them the way shorts are supposed to be aligned (It really is pretty straight forward I think). with the sewing machine start from the centre of the shorts (the crotch), and sew upwards towards the waste. Repeat on the other side and you have the bottom half of your romper. It's also the most complicated half so just bear with me, this tutorial gets easier I promise.
Having used the bottom half of my fabric I was left with the top half only. which worked out perfectly since all I had to do was cut off a few inches off the sides on each side, all the way up to the shoulder. I unfortunately didn't get pictures of that step I was too engrossed with the creating process. The only sewing to do with the top is along the sides, leaving room for the arm hole. Make sure you stitch with the shirt inside out so the stitching is on the inside of the shirt and not out.
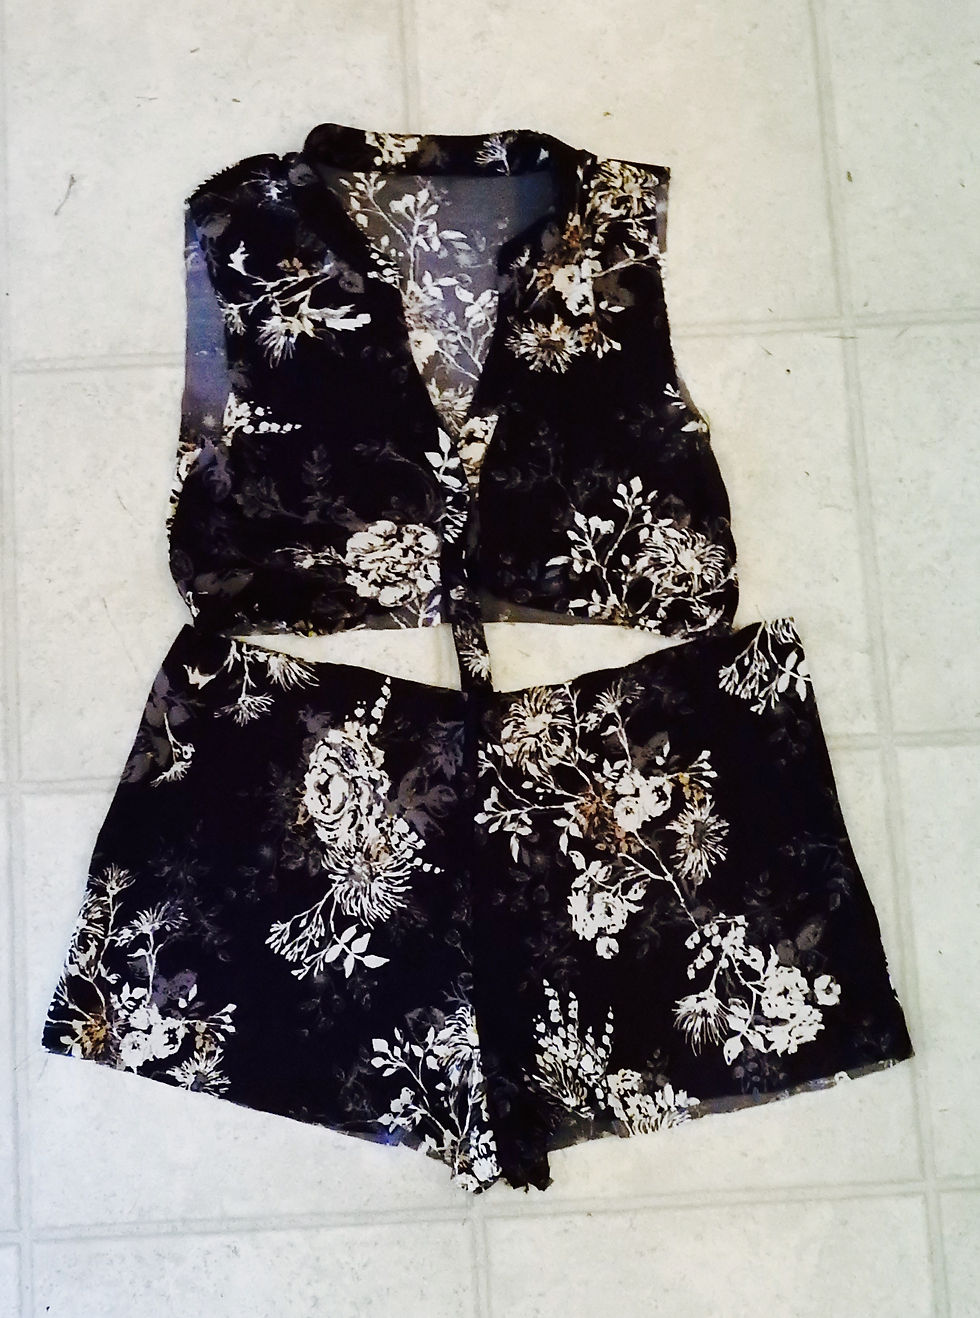
The end is near. I just sewed the top and bottom halves together, starting at the centre and going out each time, to ensure that the centre of the shirt was aligned with the centre of the shorts.

The final step for me was the sleeves. I wanted sleeves but if you do not this step is optional. Just hem the arm holes and you're done. I had sleeves left over and I wanted to use every inch of my fabric. As you can see the sleeves are way too big for the arm holes. So I just cut a few inches off on either side making sure not to cut off too much and then I sewed those in. Again, make sure your stitches are on the inside. Before sewing it together use pins to make sure you like how it sits together.
So there you have it, my over sized shirt transformation. That wasn't the only transformation that I went through over the weekend. I also got a LOT of sun so I'm a bit darker in the after picture. Oh well, serves me right for not wearing sun screen.

Thank you guys for reading my blog, let me know what you thought, or if you have any questions feel free to ask in the comment section down bellow.
I'll leave you guys with one last cute picture just because I have to.
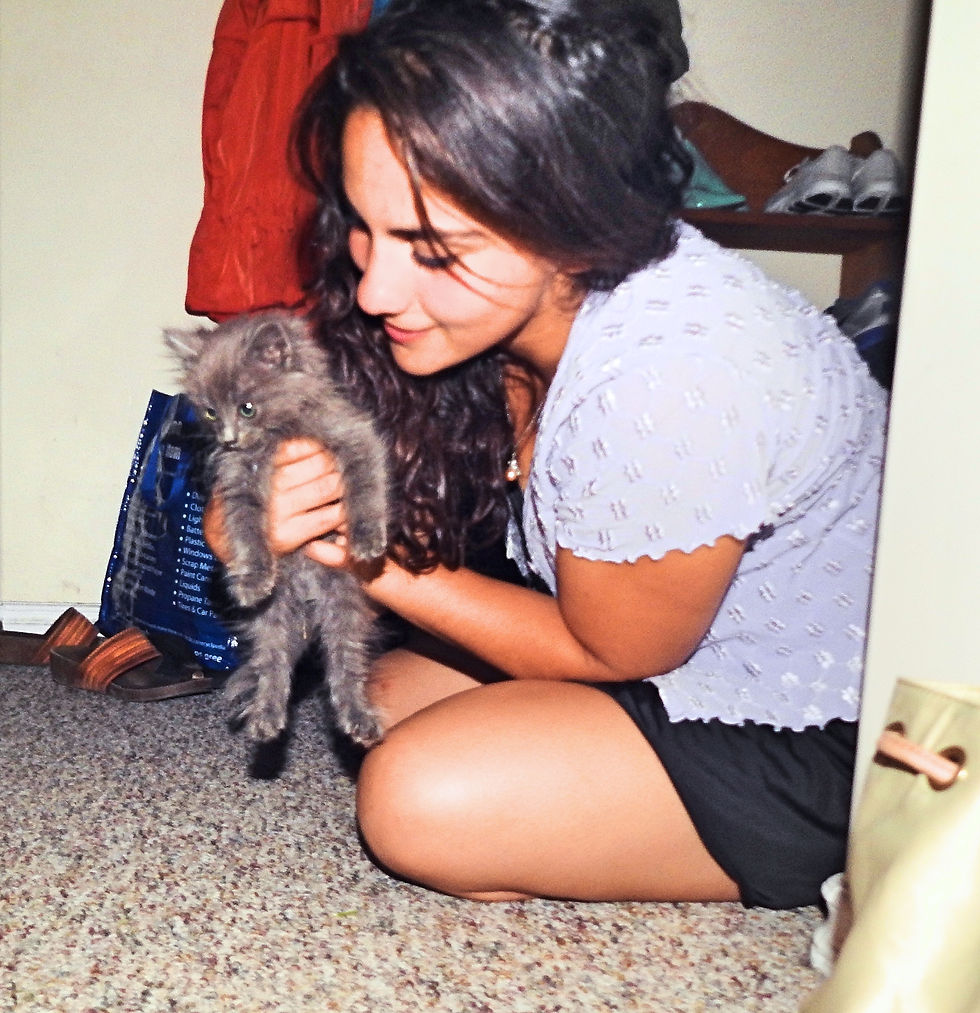
Meet my new kitty cat, his name is Mister. My boyfriend rescued him from an abandoned barn after him mommy went missing. Now he sleeps on my belly and we are slowly trying to put some weight back on him.
Alright till next time my friends!
Happy Crafting!


![Not[e] your average back to school bag](https://static.wixstatic.com/media/293775_a1b2d4e736ac42e3ba6d92967b16078c~mv2_d_2800_2800_s_4_2.jpg/v1/fill/w_1000,h_1000,fp_0.50_0.50,q_30,blur_30,enc_avif,quality_auto/293775_a1b2d4e736ac42e3ba6d92967b16078c~mv2_d_2800_2800_s_4_2.jpg)
![Not[e] your average back to school bag](https://static.wixstatic.com/media/293775_a1b2d4e736ac42e3ba6d92967b16078c~mv2_d_2800_2800_s_4_2.jpg/v1/fill/w_296,h_296,fp_0.50_0.50,q_90,enc_avif,quality_auto/293775_a1b2d4e736ac42e3ba6d92967b16078c~mv2_d_2800_2800_s_4_2.jpg)


Comments